Get this out of my closet. Shop. Part 2
I decided to move the website to its own droplet on DigitalOcean (DO) due to issues getting an SSL certificate on the shared droplet. After creating a new droplet I followed DO’s instructions for securing the droplet and now we continue on with setting up the LAMP stack and getting WordPress. WooCommerce, and Let’s Encrypt up and GetThisOutOfMyCloset.Shop running.
Note: I also disabled root login with password meaning the droplet can only be accessed with an SSH key. I recommend you do this though it can make things tricky if your computer breaks so do this at your own risk: $ sudo vim /etc/ssh/sshd_config.
    # navigate to the following line
    PermitRootLogin yes
    # change 'yes' to 'without-password'
Then run $ service ssh restart to restart ssh logging in with your new admin user.
Install tools and setup the LAMP stack
Linux (the operating system of the droplet), Apache, MySQL, and PHP. The tools needed to serve the WordPress website. DO has a great tutorial for setting up the LAMP stack as well as lot of other things because they’re great I’m not sponsored to say so I just really like them.
Here’s the TL;DR version from DO:
Step 1: Update the system and install Apache.
    $ sudo apt update
    $ sudo apt install apache2
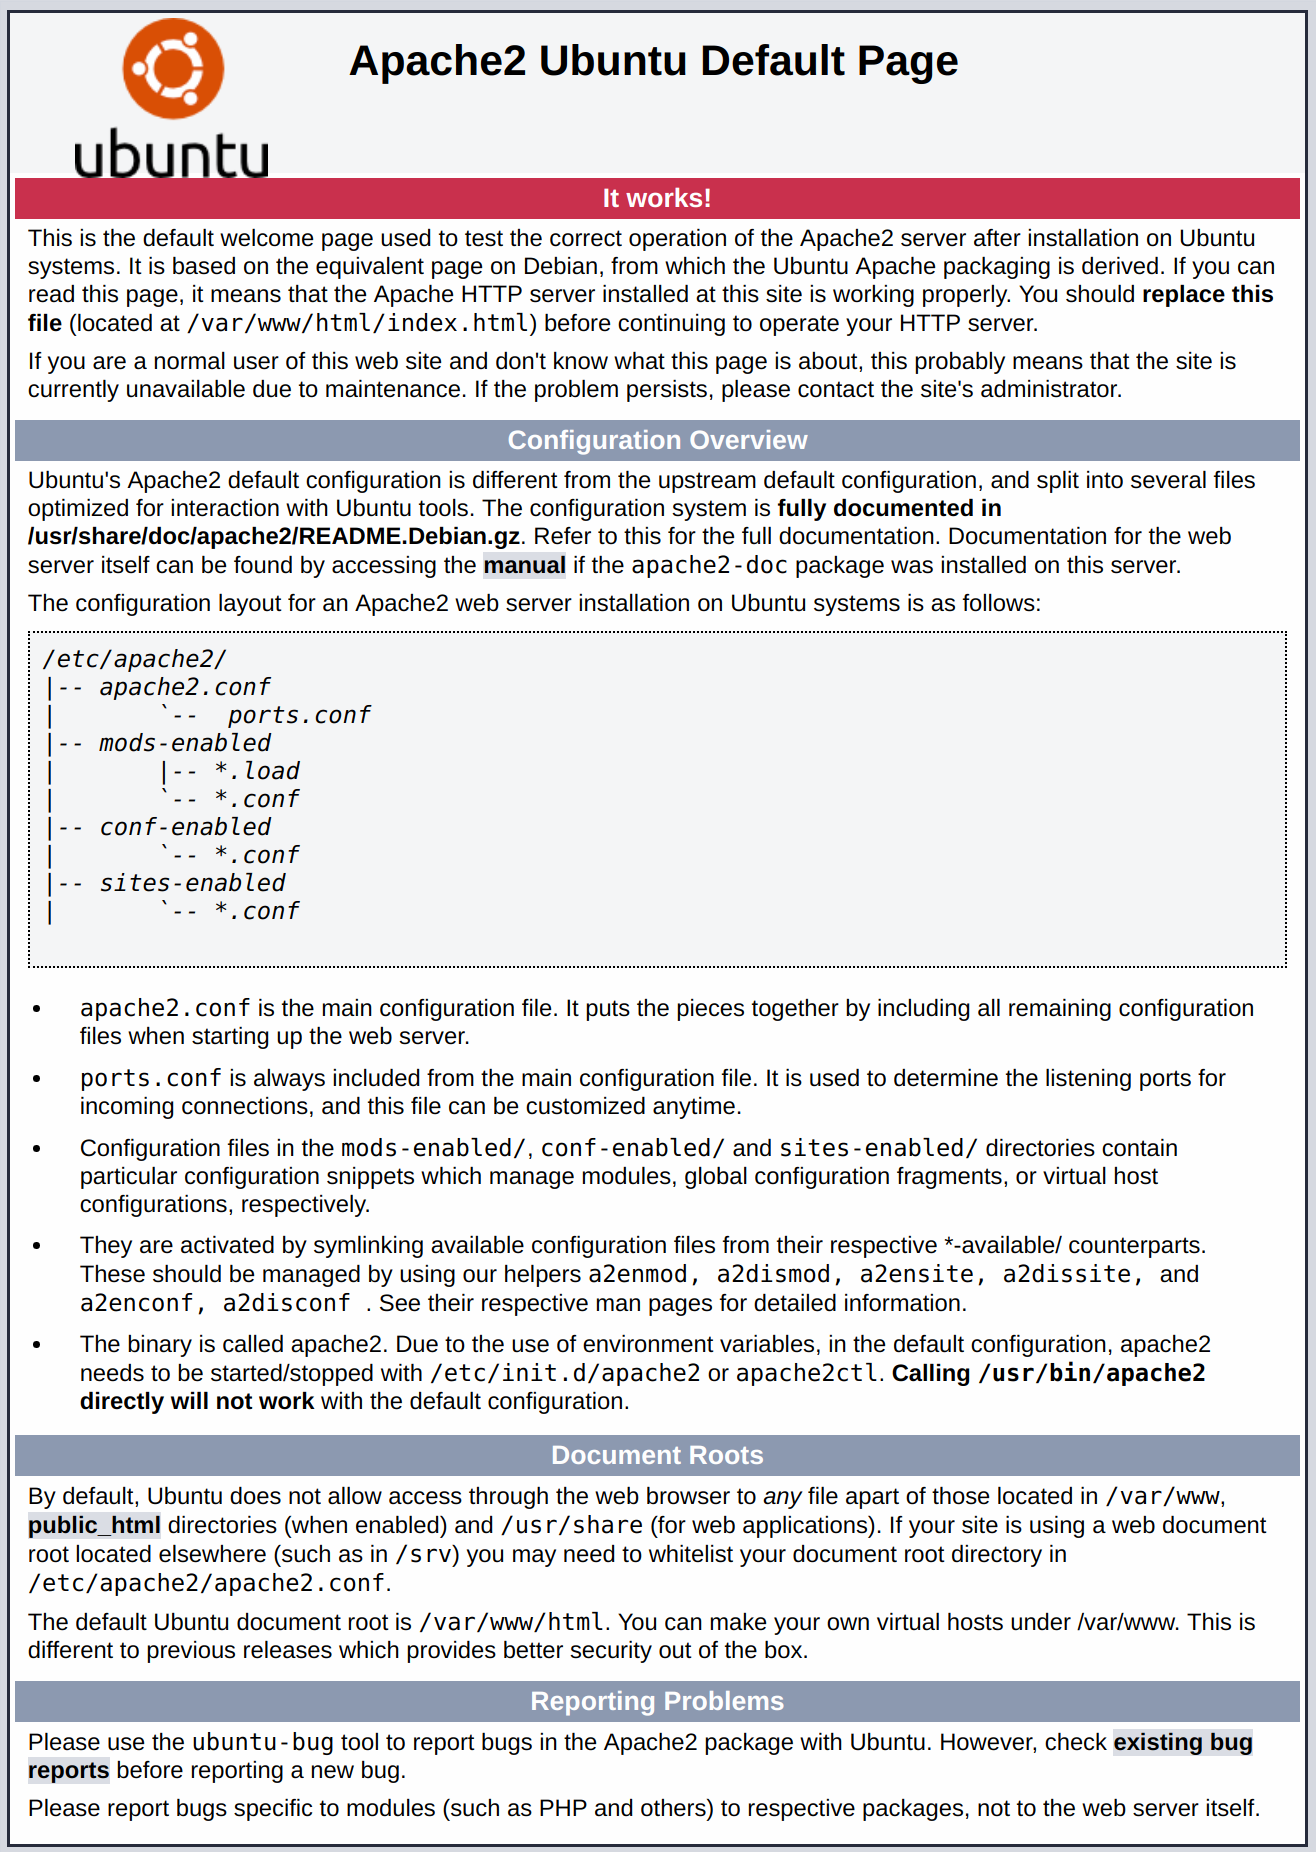
Allow http and https traffic with $ sudo ufw allow in "Apache Full". You’ll know it was successfull when you see this page:

Step 2: MySQL and securing the database user.
I highly recommend reading the DO guide thoroughly in this section because I’m really slimming it down and there’s a lot of useful tidbits in there. We start by installing the software $ sudo apt install mysql-server then secure the database by entering $ sudo mysql_secure_installation and follow the prompts for setting a root user password - make it super secure!
We’re modifying the authentication method for the user accounts next:
    $ sudo mysql
    # you are now entering the database

    mysql> SELECT user,authentication_string,plugin,host FROM mysql.user;
    # root should have 'auth_socket' under the plugin column

    mysql> ALTER USER 'root'@'localhost' IDENTIFIED WITH mysql_native_password BY 'yourSuperSecureRootPassword';

    mysql> FLUSH PRIVILEGES;

    mysql> SELECT user,authentication_string,plugin,host FROM mysql.user;
    # 'auth_socket' should now be 'mysql_native_password'

    mysql> exit
MySQL is now finished.
Step 3: PHP and virtual hosts
$ sudo apt install php libapache2-mod-php php-mysql puts it in the system. Then modify the directory index with $ sudo vim /etc/apache2/mods-enabled/dir.conf and move index.php to the front of the line so it looks like the following:
    <IfModule mod_dir.c>
        DirectoryIndex index.php index.html index.cgi index.pl index.xhtml index.htm
    </IfModule>
Restart the system, $ sudo systemctl restart apache2, check to make sure it’s running, $ sudo systemctl status apache2, and if you see SUCCESS it’s good to go!
The virtual hosts steps are the same as my previous post under “Setting up the website directories” and “Create the virtual hosts”. For brevity I’m not going to copy and paste them. At the time of this writing the url getthisoutofmycloset.shop is still moving to the new IP address so it might show an error but it should soon show the “Success!” message or have WordPress up and running.
Thank you for reading this long post
I’m going to save the WordPress and LetsEncrypt installation for another day to be sure the url switches over, and to rest my eyes, and fingers. Catch ya later!