
Get this out of my closet. Shop. Part 3
At the time of this writing the url, getthisoutofmycloset.shop, displays “Success! The Get this out of my closet shop server block is working!” which is exactly what we want to see so we’re moving onto WordPress, WooCommerce, and LetsEncrypt.
Encrypting the site
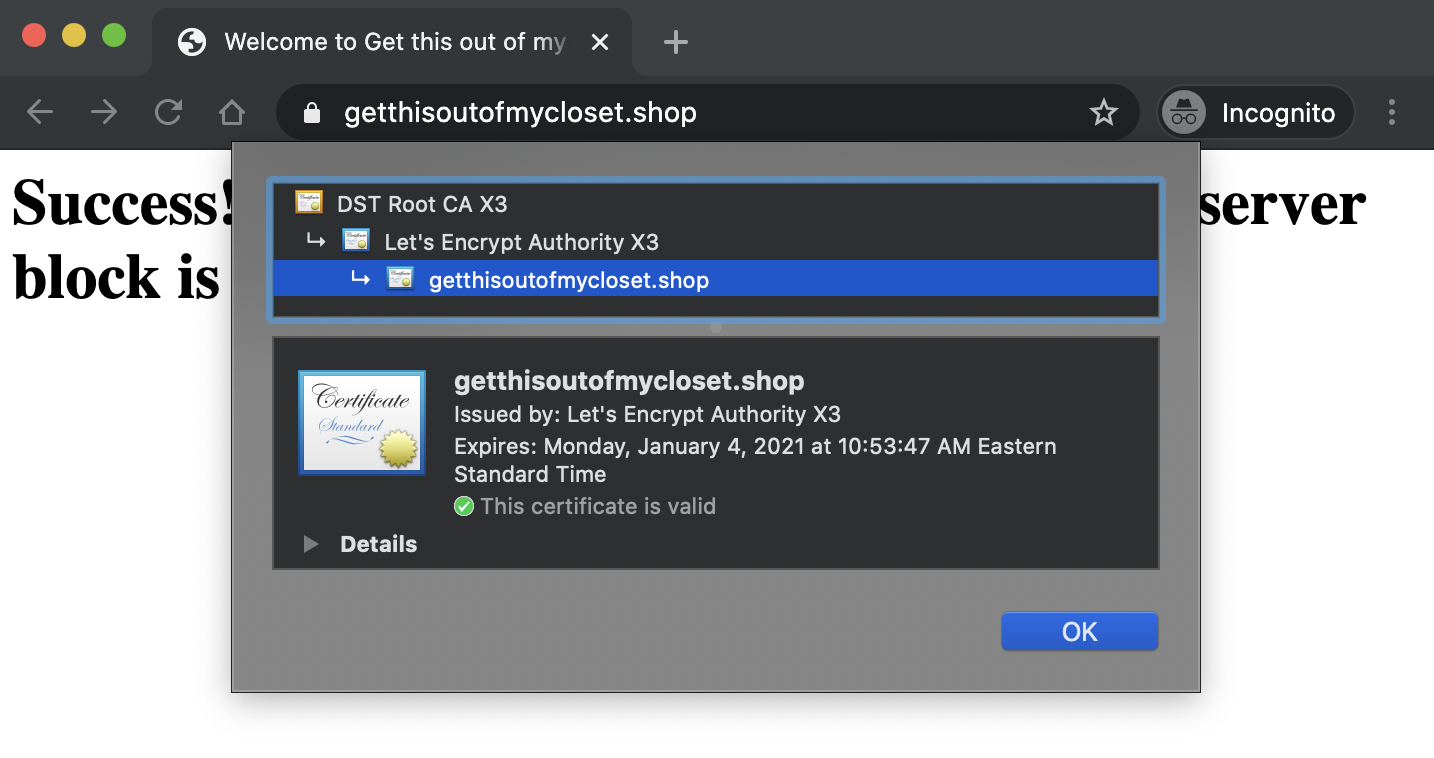
Let’s Encrypt is a free SSL service. I’ve used them for all of my websites without error or failure. They run on donations, consider donating to them if you can to keep the web secure for all.
I’m following the instructions on Certbot to install the software and generate my certificates. After the last step we can navigate to https://getthisoutofmycloset.shop/ and see it is secured.
Setting up the database
MySQL was installed last time and now it’s time to set it up with the database with a user.
$ mysql -u root -p
# you are now entering the database
mysql> CREATE DATABASE wordpress DEFAULT CHARACTER SET utf8 COLLATE utf8_unicode_ci;
# create the user with a strong password
mysql> CREATE USER 'newuser'@'localhost' IDENTIFIED BY 'password';

mysql> GRANT ALL PRIVILEGES ON wordpress.* TO 'newuser'@'localhost';

mysql> FLUSH PRIVILEGES;

mysql> EXIT;
# you have left the database
Odds and Ends
We need some additional PHP extensions for WordPress, and we need to alow .htaccess files.
$ sudo vim /etc/apache2/sites-available/getthisoutofmycloset.shop.conf
# Once the file is open add:
<Directory /var/www/wordpress/>
    AllowOverride All
</Directory>
# ':wq' to save and exit the file.
# The following may return with 'already enabled' but we're running it to be sure.
$ sudo a2enmod rewrite
# Check for syntax errors.
$ sudo apache2ctl configtest
# If it returns 'OK' we can restart Apache.
$ sudo systemctl restart apache2
Download, Install, and Configure WordPress
DigitalOcean goes through all of the specifics on what each of the following commands do, TL;DR: it downloads WordPress from their site and allows the public web to view the contents.
$ cd /tmp
$ curl -O https://wordpress.org/latest.tar.gz
$ tar xzvf latest.tar.gz
$ touch /tmp/getthisoutofmycloset.shop/.htaccess
$ cp /tmp/wordpress/wp-config-sample.php /tmp/getthisoutofmycloset.shop/wp-config.php
$ mkdir /tmp/getthisoutofmycloset.shop/wp-content/upgrade
$ sudo cp -a /tmp/getthisoutofmycloset.shop/. /var/www/getthisoutofmycloset.shop
$ sudo chown -R www-data:www-data /var/www/getthisoutofmycloset.shop
$ sudo find /var/www/getthisoutofmycloset.shop/ -type d -exec chmod 750 {} \;
$ sudo find /var/www/getthisoutofmycloset.shop/ -type f -exec chmod 640 {} \;
Next up, get some unique and super secure values to protect the WordPress configuration. Run $ curl -s https://api.wordpress.org/secret-key/1.1/salt/ and copy the stack of values that come back in your terminal.
define('AUTH_KEY',         'SUPER SECURE STRING HERE');
define('SECURE_AUTH_KEY',  'SUPER SECURE STRING HERE');
define('LOGGED_IN_KEY',    'SUPER SECURE STRING HERE');
define('NONCE_KEY',        'SUPER SECURE STRING HERE');
define('AUTH_SALT',        'SUPER SECURE STRING HERE');
define('SECURE_AUTH_SALT', 'SUPER SECURE STRING HERE');
define('LOGGED_IN_SALT',   'SUPER SECURE STRING HERE');
define('NONCE_SALT',       'SUPER SECURE STRING HERE');
Open up the config file with $ sudo vim /var/www/getthisoutofmycloset.shop/wp-config.php and swap the default values with those just copied. Then we alter the default database name, user, and password. We also will allow direct file transfer on the WordPress admin so we don’t have to use FTP.
define('DB_NAME', 'wordpress');

/** MySQL database username */
define('DB_USER', 'wordpressuser');

/** MySQL database password */
define('DB_PASSWORD', 'password');


define('FS_METHOD', 'direct');
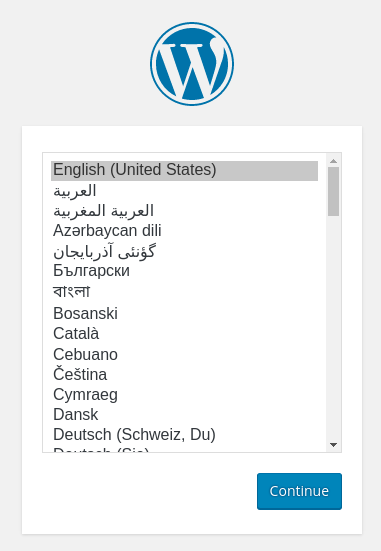
At this point we can navigate to the website on a browser and finish the WordPress installation through a user-friendly interface.
After filling everything out we’re setup with a secured WordPress website! We can login into our site by going to the default login url https://getthisoutofmycloset.shop/wp-admin, I don’t keep this setting opting for a custom login url unique to each website I administrate for a little extra security.
WooCommerce
Now that we have access to the WordPress dashboard we can get WooCommerce installed. It’s a plugin that sets us up with a shop and all of the necessary functionality to add and sell products. We’re going to Plugins > Add New and searching for “WooCommerce”, it’s a very popular plugin so it pops up right away and we click on Install > Activate.
Follow the setup wizard and we’re running an online store!
Thank you for reading
That concludes this project. Check the website often as Lyz and I will be posting artworks and bath and body care supplies making room in her closet!